How to Apply Wood Veneer?
Wood veneer can turn plain panels into premium surfaces. We love that moment when dull wood starts to glow. The process looks simple, yet small details matter a lot. If we rush, bubbles and cracks show up fast.
So let’s slow down and do it right. We will walk through how to Apply Wood Veneer from start to finish. We share real shop experience, not textbook talk. Expect practical tips, a few laughs, and honest lessons.
Understanding Wood Veneer First
Wood veneer is a thin slice of real wood. We bond it onto a stable core. This method saves timber and still looks luxurious. It also keeps costs under control.
Why Veneer Products Are Popular
Veneer products balance beauty and efficiency. We use less solid wood but keep the natural grain. That makes furniture lighter and greener. Designers love the flexibility.
Another big win is consistency. We can match grain patterns across large panels. That creates a high-quality visual flow. Customers notice this detail right away.
The Role of Veneer Drying
Good veneer drying prevents trouble later. Wet veneer bends, shrinks, and twists. That leads to cracks after bonding. We learned this lesson the hard way once.
Uniform moisture equals stable bonding. That is why uniform drying matters before application. Proper drying also protects glue strength. In short, dry veneer behaves better.

Preparing the Veneer Sheet
Preparation decides half the result. We never skip this stage, even on busy days. A clean, flat veneer sheet saves hours of repair. Trust us on this one.
Check Moisture and Flatness
First, we inspect the veneer sheet carefully. We look for warping, waves, or surface defects. Then we confirm moisture levels feel balanced. The sheet should feel cool but not damp.
Suppose the sheet curls; drying may be uneven. That means more conditioning time. We let the veneer rest for up to 24 hours in the workshop. This helps it adapt to the room climate.
Trim and Align the Grain
Next, we trim edges with a sharp blade. Clean cuts prevent splitting during pressing. We also plan the grain direction early. Good alignment makes the final surface look high-quality.
We place sheets side by side and check the color tone. Slight shifts can ruin symmetry. A little patience here avoids regret later.
Surface Preparation of the Substrate
A strong bond needs a clean base. We treat the substrate like a canvas. Dust, oil, or bumps can destroy adhesion. So we prep like pros.
Sanding with Grit Sandpaper
We sand the surface using grit sandpaper. Usually, we start with 120 grit. Then we move to finer grades. Smooth wood helps glue spread evenly.
After sanding, we remove all dust. A vacuum works best. Even tiny particles cause bumps. And bumps show under the thin veneer.
Dry Fit Before Gluing
Before glue, we test placement. This step sounds boring, but saves disasters. We lay the veneer sheet on the panel. Then we check size and grain flow.
We also mark alignment points. This avoids panic once the glue is on because glue waits for no one.
Choosing the Right Adhesive
Glue choice changes everything. We match adhesive to material and use. Some projects need heat resistance. Others need moisture tolerance.
Common Glue Options
We often use:
PVA glue for general indoor use
Urea-formaldehyde for strong, rigid bonds
Contact cement for curved surfaces
Each option has pros and cons. We always read technical data. Skipping this step leads to bonding failure.
Spread Glue Evenly
We apply glue with a roller or spreader. Coverage must stay uniform. Too much glue causes bleed-through. Too little leads to weak spots.
We work quickly but carefully. Glue open time is limited. Once we start, we finish without breaks.

Pressing and Bonding the Veneer
This stage feels intense. Glue is on, and time runs fast. We place the veneer sheet smoothly. Then we press from the center outward.
Use Proper Pressure
We use presses or clamps for even force. Pressure removes air pockets. It also ensures full contact. That means stronger bonding.
We double-check edges during pressing. Corners like to lift. We press them again before the glue sets.
Allow Full Curing Time
We never rush curing. Most glues need several hours. Some require a full 24 hours. Patience protects our reputation.
Suppose we move the panels too soon, bubbles form. Then we cry a little inside. So we wait.
Importance of Uniform Drying Before Use
After bonding, moisture still matters. Uneven conditions cause stress. That leads to surface cracks later. We avoid this with controlled environments.
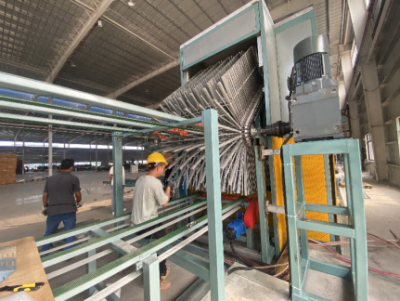
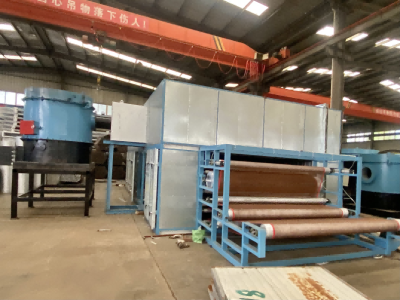
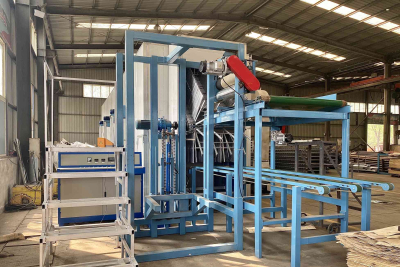
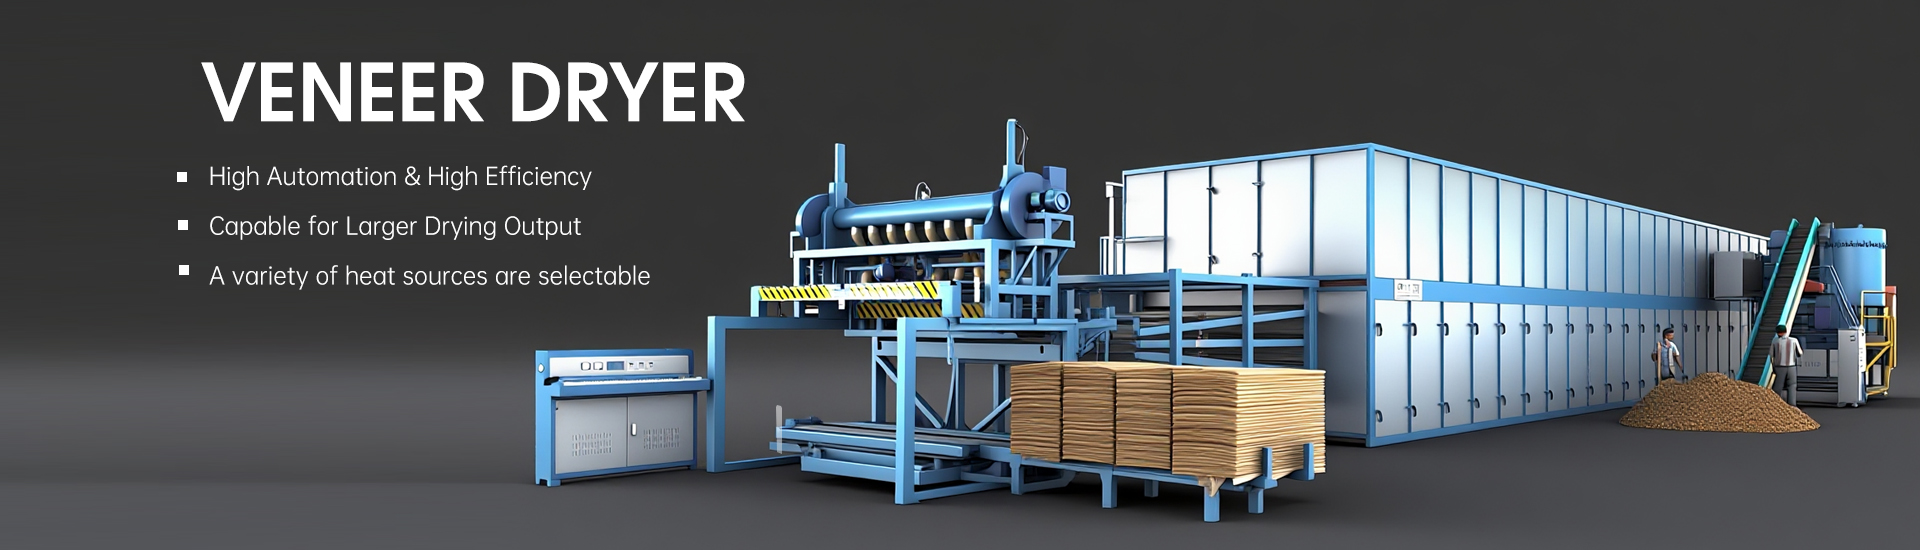
How a Veneer Dryer Machine Helps
A Veneer Dryer Machine supports stable veneer drying. It controls temperature and airflow. This helps achieve uniform drying across sheets. Balanced drying improves final bonding quality.
We use drying systems to reduce defects. Stable veneer saves rework time. It also boosts production efficiency. Good drying equals high-quality output.
Final Sanding and Finishing
Now comes the beauty stage. We gently sand the surface again. Fine-grit sandpaper smooths glue lines. We stay careful not to sand through the veneer.
After sanding, we clean the panel. Then we apply a finish like lacquer or oil. Finish protects and enhances grain. The wood finally shines.
Common Mistakes We Avoid
We made mistakes in the past. Now we share so you skip the pain.
Applying veneer on dusty surfaces
Ignoring the moisture balance
Using too much glue
Rushing the curing time
Skipping uniform drying
Each error leads to defects. Prevention always costs less than repair.
Final Thoughts on How to Apply Wood Veneer
Applying veneer is both a skill and an art. We enjoy the process every time. Watching flat panels transform feels magical. And yes, we still get excited.
When we follow the correct steps, the results stay high quality. Proper preparation, pressing, and veneer drying make all the difference. Small details create a big impact. That is why we never cut corners.