Care for Wood Veneer Dryers
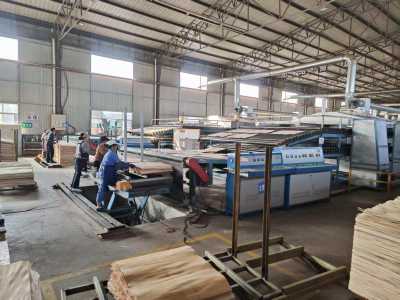
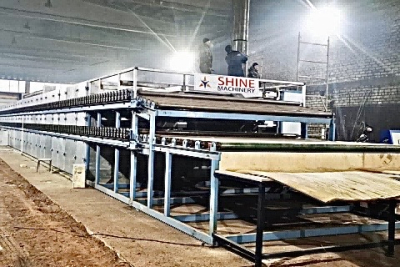
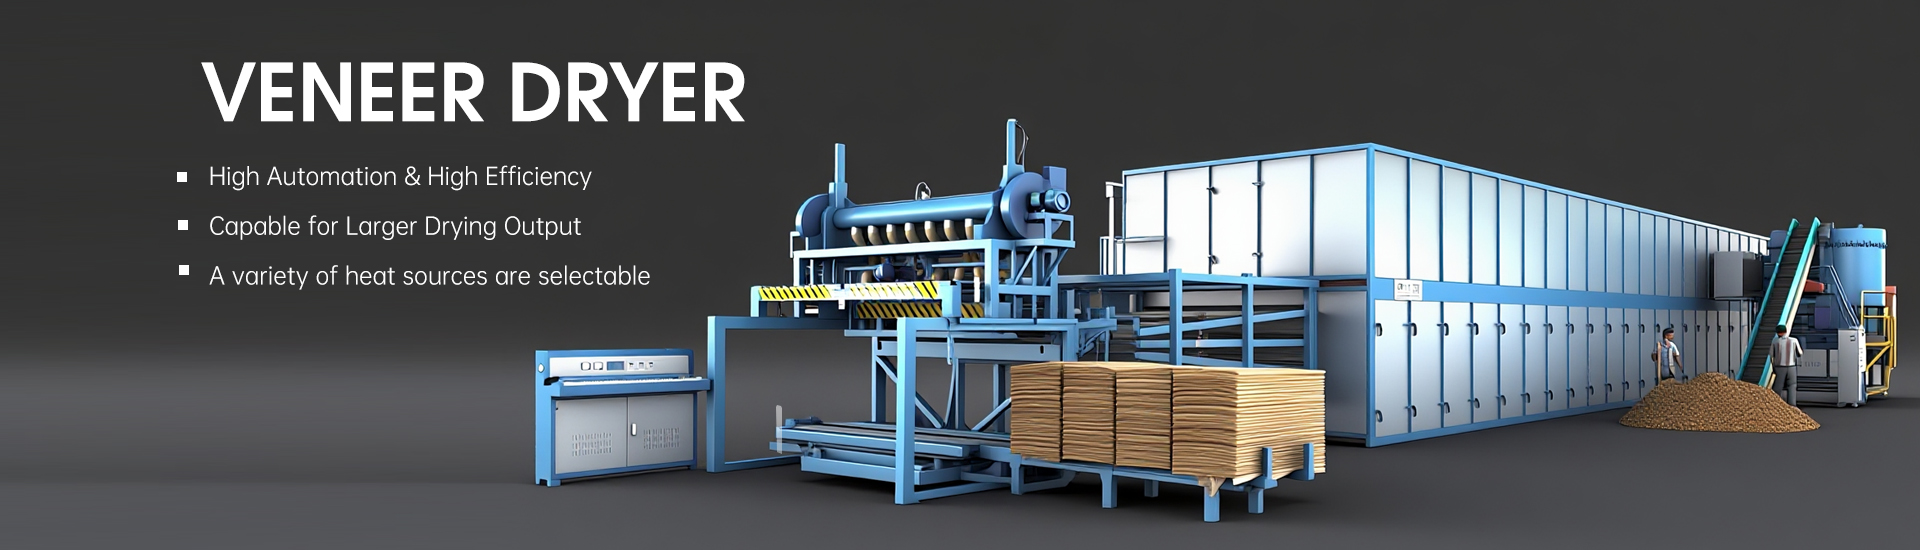
In the competitive landscape of wood product manufacturing, the veneer dryer stands as a cornerstone of production efficiency. These machines transform freshly peeled wood veneers into stable, moisture-controlled sheets ready for plywood, furniture, or flooring—yet their role is far more demanding than mere drying. A typical veneer dryer integrates a labyrinth of interdependent systems: dual-circuit electrical networks (handling both high-voltage power and sensitive control signals), intricate mechanical drives for rollers and conveyors, compressed air systems powering pneumatic actuators, hydraulic circuits for pressure adjustments, hot air circulation units, high-temperature flue gas pathways, circulating water cooling loops, and smart temperature regulation modules. Such complexity means that even minor oversights in maintenance can cascade into catastrophic failures, halting production lines and inflating repair costs. For operators aiming to maximize uptime and extend equipment lifespan, mastering daily maintenance is non-negotiable. This guide delves into the science and strategy behind keeping veneer dryers in peak condition, with actionable steps tailored to industrial realities.
The Anatomy of a Veneer Dryer: Why Maintenance Is Critical
To understand maintenance priorities, one must first grasp the dryer’s operational stresses. During a typical cycle, veneers pass through heated chambers where temperatures range from 80°C to 180°C, depending on wood species and desired moisture content. This thermal load weakens lubricants, warps metal components, and accelerates wear on moving parts like rollers and bearings. Simultaneously, airborne wood dust and resin vapors coat surfaces, clogging filters and insulating heat exchangers—reducing efficiency by up to 20% if unaddressed. Electrical systems face their own challenges: fluctuating voltages from variable-frequency drives (VFDs) strain circuitry, while high humidity near cooling zones promotes corrosion.
A poorly maintained dryer doesn’t just fail abruptly; it degrades incrementally. Misaligned rollers create uneven drying, leading to veneer defects like cracking or warping. Clogged air ducts force the burner to work harder, increasing fuel consumption. Worn bearings emit vibrations that travel through the frame, loosening fasteners and eventually damaging structural integrity. Industry data reveals that plants with structured maintenance programs experience 35% fewer unplanned stoppages and 25% lower annual repair expenses compared to those relying on reactive fixes. For veneer dryer owners, proactive care isn’t optional—it’s a financial imperative.

Pre-Operational Checks: Preventing Morning Mishaps
The first line of defense against downtime begins before the dryer even starts. A 15-minute pre-shift inspection sets the tone for the entire day, identifying issues that could derail operations.
Mechanical Integrity Audit
Start with a tactile check of all fasteners. Using a torque wrench, verify that bolts securing rollers, conveyor frames, and burner assemblies meet manufacturer specifications—loose fasteners are a leading cause of component misalignment. Next, inspect rotating parts: manually rotate rollers and fans to detect wobbling or resistance (signs of worn bearings or bent shafts). For belt-driven systems, check tension and alignment; a slack belt slips under load, while an overtightened one strains bearings.
Electrical safety is equally vital. Trace main power cables and control wiring for fraying, rodent damage, or kinks—especially near heat sources like the burner. Ensure no cables are stretched taut across walkways, where foot traffic could damage insulation. In the electrical cabinet, confirm breakers are in the “off” position unless specified otherwise for standby mode.
Workspace Sanitation
Wood dust and debris are silent saboteurs. Clear the loading/unloading zones of veneer scraps, bark fragments, and sawdust—accumulations here can be sucked into the dryer, clogging air intakes or scratching delicate veneers. Around the biomass burner (if installed), remove ash residue and unburned pellets, which pose fire risks when exposed to residual heat. Don’t forget the area beneath the dryer: fallen debris can impede access to lubrication points later.
Lubrication and System Priming
Apply lubricants beforestartup, following the “dry before wet” rule—clean old grease from fittings to prevent contamination. For example, wipe grease nipples on roller bearings with a lint-free cloth, then apply fresh grease using a manual pump. Check oil levels in gearboxes via sight glasses; top off with 220# gear oil if below the 2/3 mark (for units with windows) or 1/3 gear height (windowless designs).
Finally, initiate a no-load test run. Start the dryer at 20% speed, listening for abnormal noises (grinding, clicking) as components warm up. Gradually increase speed to 50%, then 75%, monitoring vibration sensors (if equipped) for spikes. Only proceed to load veneers once the test confirms stable operation at full speed.
In-Process Vigilance: Monitoring the Heartbeat
Once production begins, constant observation separates well-managed plants from those caught off guard by failures.
Adherence to Operational Protocols
Strict compliance with SOPs is non-negotiable. For biomass burners, maintain a consistent pellet feed rate—overfeeding causes incomplete combustion (smoke, soot), while underfeeding leads to temperature drops and extended drying times. Adjust conveyor speeds based on veneer thickness: thinner sheets (0.5mm) require slower speeds to avoid scorching, while thicker ones (3mm) need faster passes to reach target moisture.
Real-Time Data Interpretation
The control panel is a dashboard of the dryer’s health. Track three key metrics:
Temperature gradients: The inlet should be 10–15°C hotter than the outlet; a reversed gradient indicates blocked ducts.
Motor frequency: VFDs adjust speed to match load—sudden frequency drops signal jams (e.g., a stuck veneer in rollers).
Current draw: Motors working harder than usual (higher amps) may indicate worn bearings or misalignment.
Set alarms for deviations beyond ±5°C (temperature), ±2Hz (frequency), or 10% above baseline current. When alerts trigger, pause the dryer, isolate the issue (e.g., clear a jam), and resume only after verification.
Scheduled Walkthroughs
Every two hours, conduct a 10-minute inspection:
Visual checks: Look for veneer “sticking” to rollers (a sign of insufficient release agent application).
Auditory cues: Listen for squeals (belt slippage), thuds (foreign objects), or whines (bearing wear).
Tactile tests: Feel conveyor frames for excessive heat (indicating bearing failure).
Fluid checks: Verify circulating water temperature stays below 40°C—higher temps reduce cooling efficiency.

Post-Shift Restoration: Resetting for Tomorrow
End-of-day cleanup is about more than tidiness—it’s about preventing overnight degradation.
Deep Cleaning Protocol
Use compressed air (set to 60 PSI) to blow dust from rollers, belts, and sensor lenses. For stubborn resin buildup, apply a citrus-based degreaser (avoid harsh chemicals that corrode aluminum parts). In the biomass burner, empty the ash pan and scrape residue from the grate—clogged grates reduce combustion efficiency by 30%.
Surface Maintenance
Wipe exterior panels with a damp cloth to remove water stains from condensation. Dry electrical cabinets thoroughly to prevent rust on terminals. Lubricate door hinges and latches with silicone spray to avoid squeaking (which can mask abnormal noises later).
Documentation
Log all observations in a maintenance journal: unusual noises, temperature fluctuations, lubricant usage, and parts replaced. Over time, this data reveals patterns—e.g., a bearing failing every 14 months—enabling predictive replacements rather than reactive fixes.
Lubrication Mastery: The Science of Friction Control
Proper lubrication is the backbone of dryer longevity. Using the wrong grease or applying too much/too little can shorten component life by half.
Grease Selection by Application
High-temperature zones (near burners, exhaust ducts): Use lithium-complex grease rated for 180°C. If unavailable, apply regular grease sparingly and replace within 72 hours.
Standard bearings: NLGI Grade 2 lithium grease works for most medium-speed applications.
Open gears/chains: Use adhesive gear grease to resist being thrown off by centrifugal force.
Application Rules by Bearing Type
Bearing Type | Speed Range (RPM) | Grease Fill % | Rationale |
Sealed | All | 20–30% | Prevents over-packing; seals retain excess grease. |
Low-speed | <100 | 100% | Slow rotation allows grease to distribute evenly without overheating. |
Medium-speed | 100–1000 | 33–50% | Balances lubrication and heat dissipation. |
High-speed | >1000 | <33% | Excess grease churns, generating heat that degrades the lubricant. |
Open (unshielded) | All | 30–50% | Allows room for grease to expand as it warms. |
For example, a roller bearing spinning at 800 RPM (medium-speed) should receive grease filling 1/2 to 1/3 of its cavity. Overfilling would cause the grease to melt, leak, and attract dust—accelerating wear.
Maintenance Schedules: Tailoring to Usage Intensity
No two plants operate identically. Adjust cycles based on runtime:
Heavy use (20+ hrs/day): Shorten intervals by 25%. For instance, weekly chain lubrication becomes twice-weekly.
Light use (<10 hrs/day): Extend intervals by 50%, but never skip critical tasks like monthly bearing checks.
Key milestones:
Gearboxes: First oil change at 500 hours (heavy use) or 1000 hours (light use); thereafter, annually.
Motor bearings: Inspect every 18 months; replace if noise exceeds 70 dB.
Burner grates: Lubricate every 12 hours (biomass models) to prevent rust.
Case Study: A Mill’s Turnaround Through Maintenance
A Russian plywood mill struggled with 12 unplanned stoppages in 2022 due to dryer failures. After adopting this protocol:
Downtime dropped 60% (to 5 stoppages in 2023).
Energy use fell 22% as clean ducts and calibrated burners optimized heat transfer.
Veneer defect rate decreased from 8% to 2%, boosting product value.
The plant manager noted: “We used to fix problems as they arose. Now, we prevent them. The dryer runs smoother, and our team spends less time firefighting.”
Conclusion: Maintenance as a Competitive Edge
A veneer dryer is more than metal and circuits—it’s a capital asset whose value is determined by how well it’s cared for. By embracing pre-shift checks, in-process monitoring, and disciplined post-shift restoration, operators transform maintenance from a chore into a strategic tool. The effort pays dividends in reliability, cost savings, and product consistency—proving that in wood processing, the best offense is a well-maintained defense.
For those ready to elevate their maintenance game, start small: implement one new check this week, document results, and build momentum. Over time, these habits will become second nature, ensuring your veneer dryer remains a productive partner for years to come.