Mastering the Art of Wood Veneer
We at Shine Machinery are excited to walk you through how to make wood veneer from solid wood to finished veneer sheets. As a manufacturer specializing in the veneer drying machine, we bring you real insight into veneer production—a mix of craft, tech and industrial precision. You’ll find humor, practical tips and the detailed process beneath.
Why Veneer Production Matters
We all love the look of natural wood grain, yet using solid planks isn’t always the most efficient. That’s where wood veneer — thin layers of wood applied to a substrate — steps in. According to industry sources, veneers are thin slices of wood glued onto panels like MDF or particle board.
By mastering this process, we open doors to high-quality veneer, industrial veneer manufacture and beautiful sheets of wood with grain pattern integrity.
Step 1: Select and Prepare the Solid Wood Log
Choosing the right solid wood log sets the stage for success.
Picking the right tree
• Select logs that are straight, free of major knots and blemishes.
• Consider the species: different woods yield different grain patterns.
Debarking and initial prep
• Remove the bark carefully so you don’t damage the underlying wood.
• Store logs under controlled humidity so they don’t crack or dry out prematurely.
This step influences how the veneer sheets later behave in drying, gluing and finishing.
Step 2: Soften the Log and Choose the Cut Method
Now we move into the fun part — how you slice it matters.
Soften the fiber
• Soak or steam the log at about 80-100 °C for many hours so the wood fibers become pliable.
Pick your slicing method (flat cut/rotary/quarter/rift)
• Rotary cutting: The log spins while a blade peels off a continuous sheet.
• Flat slicing: The cut is parallel to the growth rings, creating a cathedral grain pattern.
• Quarter or rift slicing: Produces straight or comb-like grain patterns.
Choosing the right cut method affects your final grain pattern, the aesthetic of the thin layer, and how you can later lay the veneer (including “book match”).
Step 3: Cut and Produce the Veneer Sheets
We’re now turning logs into actual veneer.
Producing the sheets
• Slice or peel into ultra-thin layers of wood.
• Keep the sheets in order so you can reconstruct the grain pattern later (important for matching).
Book matching and sheet arranging
• If you want a mirror effect, use the “book match” technique: alternate sheets so the grain mirrors across the center.
This adds the surprise twist of beauty: the piece of veneer next to another looks like a butterfly wing.
By now, you’ll have a sheet of veneer ready for the next big step: drying.

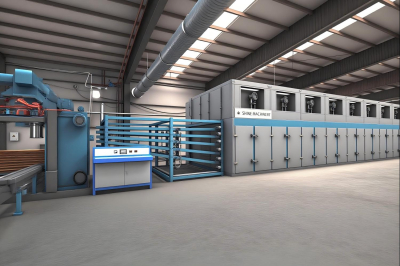
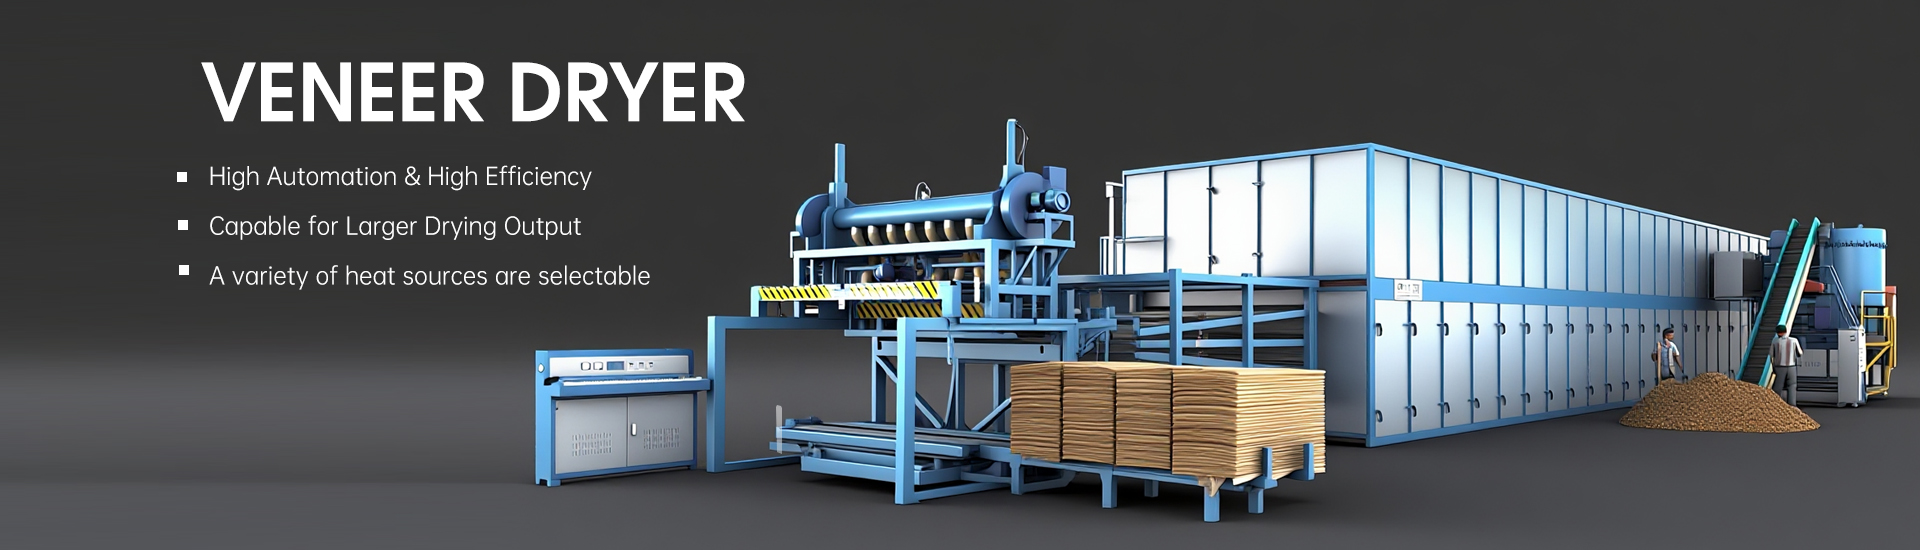
Step 4: Dry the Veneer – Our Specialty with the Veneer Drying Machine
Here’s where tech meets craft, and where our machines shine.
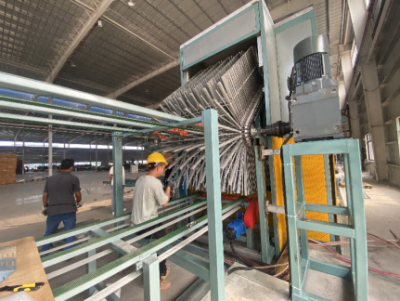
Importance of drying
• Wet veneer has too much moisture. You must bring it down to about 6-10% moisture content to avoid warping or failure.
• If you skip or do a poor job of the drying process, you’ll ruin the grain pattern, end up with curling, gaps or poor drying results.
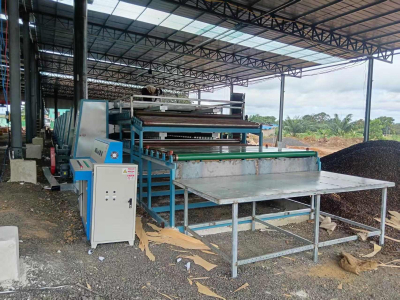
How the drying works
• Use high-velocity air or jet drying to remove moisture evenly.
• Stack the sheets in the order they were sliced to maintain the grain continuity.
As a manufacturer of a veneer drying machine (we do it!), we believe this step defines whether you’ll end up with an industrial veneer ready for high-quality applications or a sub-par result.
Step 5: Trimming, Gluing, and Applying the Veneer
Almost there! Time to turn those sheets into beautiful surfaces.
Trim and splice sheets
• Clip the edges and lengths so your pieces of veneer fit exactly the size you need.
• Splice if you need larger panels and want continuity of pattern (especially in book match).
Apply glue, lay the veneer, finish the surface
• Choose a good wood glue or contact cement for adhering veneer to the substrate.
• Use a utility knife or veneer saw to trim excess and handle neat edges.
• Carefully lay the veneer, paying attention to the grain, ensuring no glue bubbles or gaps.
If you use a sheet of veneer laid with care, you’ll get that high-quality veneer surface that clients love.
Step 6: Match & Pattern: The Art of Grain Pattern Layout
Time to get a little artistic (and we love that here).
Book match and layout tricks
• Using the book match technique helps produce symmetrical grain patterns that wow.
• You can also use slip match, random match, etc., depending on your design.
Solid wood look with veneer
• Although you’re working in veneer (a thin layer), you can achieve the look of solid wood by matching the pattern and finishing it right.
• The word “veneer” often wrongly signals poor quality. Not so if done right. You can have an industrial veneer surface with the richness of solid timber.

Step 7: Quality Check and Finishing Touches
Let’s tie the bow on this process.
Inspecting the final veneer
• Check for splits, knots, discoloration and verify the drying results are correct.
• Make sure the grain pattern flows smoothly, the match is correct, and edges are crisp.
Finishing for a successful veneer
• Apply a thin coat of finish to protect the veneer and enhance the grain.
• When done, you’ll have a high-quality veneer surface ready for furniture, cabinetry or architectural panels.